
How Long Do Diamond Paintings Last?
A Practical Guide to Long-Term Care
After spending hours—or even weeks—completing a diamond painting, one question naturally comes up:
How long will it actually last?
The reassuring answer is:
With proper techniques and care, a diamond painting can remain intact and vibrant for many years—even decades.
However, longevity isn’t just about the final result. It depends on everything from how you handle the adhesive at the beginning to how you seal, frame, and store the finished piece.
This guide breaks down the key factors that truly determine how long your artwork will last—and how to avoid the most common issues.
1. Will the Adhesive Fail?
Two of the most common concerns among diamond painting enthusiasts are simple but important:
Will the adhesive dry out over time?
Will the drills eventually fall off?
The reassuring answer is that, in most cases, both issues are preventable with the right approach. Understanding how the adhesive works—and what affects it—can make a significant difference in the final durability of your artwork.
Why Adhesive Loses Stickiness
The adhesive layer on a diamond painting canvas is designed to remain tacky, but it is also sensitive to environmental exposure. Over time, several factors can weaken its effectiveness:
- Dust and debris: Tiny particles can settle on the surface and block direct contact between the adhesive and the drills.
- Air exposure: Prolonged contact with air can gradually reduce tackiness through natural oxidation.
- UV light: Direct sunlight can break down the adhesive structure, making it dry and less flexible.
These effects tend to become more noticeable in certain conditions, such as:
- Dry environments with low humidity
- Areas with constant airflow (like near fans or open windows)
- Spaces exposed to strong or direct sunlight
When these factors combine, the adhesive may lose its ability to hold drills securely, especially in sections that are left uncovered for long periods.
A Common Mistake
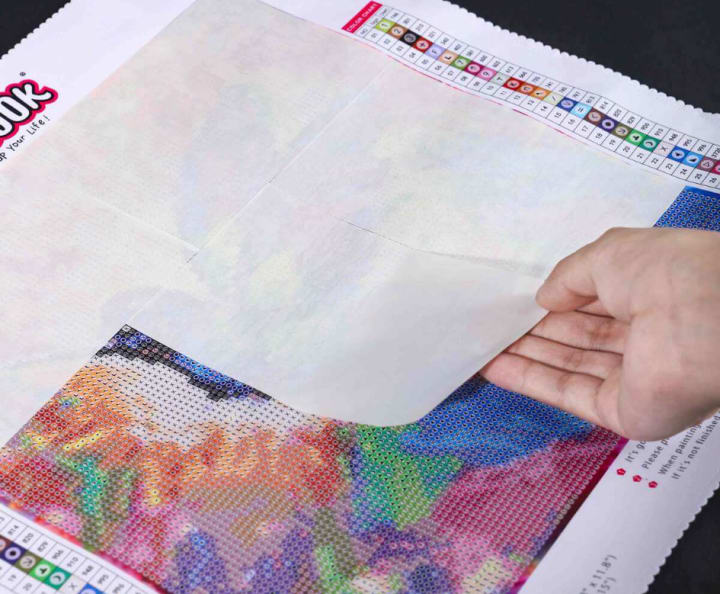
One of the most frequent beginner mistakes is removing the entire protective film at once for convenience. While this may make the canvas easier to access initially, it exposes all adhesive areas to air and contaminants at the same time.
As a result, by the time you move on to later sections, parts of the canvas may already feel less sticky. This can lead to uneven adhesion, loose drills, or the need for repairs later on.
A Better Approach
A more effective method is to work in small, controlled sections:
- Peel back only the area you are actively working on
- Keep the remaining sections covered at all times
This approach minimizes unnecessary exposure and helps preserve the adhesive’s original strength across the entire canvas.
Over time, this simple habit not only improves how well the drills stay in place but also reduces the risk of common issues like lifting or “popping” drills, especially in larger or more detailed designs.
2. Fixing Weak or Non-Sticky Areas
If you notice that certain sections of the canvas are losing their stickiness, it’s usually caused by surface contamination rather than a complete failure of the adhesive. Dust, lint, or tiny fibers can form a barrier that prevents drills from bonding properly.
Start by gently cleaning the area with an alcohol-free wipe to remove any debris. Let the surface air dry fully before continuing. In many cases, this simple step restores enough tackiness for normal use.
If the area still feels weak, you can move to more targeted fixes:
- Use a diamond painting glue pen to reapply adhesive precisely where needed
- Apply small pieces of double-sided adhesive for small, affected spots
These methods work best when used sparingly, focusing only on problem areas rather than covering large sections.
It’s important to avoid regular household glue. While it may seem like a quick fix, it can create uneven surfaces, leave visible residue, or interfere with how the drills sit and reflect light—ultimately affecting both durability and appearance.
3. Why Drills “Pop” (And It’s Not Just Glue)
“Popping drills” is one of the most common issues in diamond painting, but it’s often misunderstood. While adhesive strength plays a role, many cases are actually caused by physical tension within the canvas.
Main Causes
- Compression from Tight Placement
When drills are placed too tightly with no spacing, they create internal pressure across the surface. Even slight shifts in the canvas—caused by temperature changes or handling—can release this pressure, pushing some drills upward.
2. Canvas Movement
Over time, canvases may expand or contract slightly depending on humidity and temperature. Thinner materials are more prone to this movement. Since drills are rigid, they don’t adjust in the same way, which can create stress at the bonding points.
3. Oil Contamination
Natural oils from your hands, as well as residue from lotions or creams, can reduce the effectiveness of the adhesive. Repeated contact with the sticky surface may lead to weaker bonding in certain areas.
Practical Insight
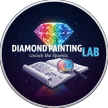
Round drills are often recommended in diamond painting kits for beginners because they are more forgiving and easier to handle. The tiny gaps between each piece help absorb small shifts in the canvas and reduce pressure buildup. Square drills, while offering a more precise look, require more careful placement to avoid long-term stress.
4. Prevention and Quick Fixes
Many long-term issues can be avoided with a few consistent habits during the process:
- Press each completed section firmly using a roller or a flat, heavy object to secure the drills
- Reattach any loose drills early before surrounding pressure increases
- Avoid over-tight placement—allow minimal spacing so the drills can settle naturally
Applying even pressure helps the adhesive spread into the base of each drill, improving the mechanical grip rather than relying on surface contact alone.
These small adjustments may not seem significant at first, but over time they greatly improve the stability of the entire piece and reduce the likelihood of repairs later on.
5. Sealing: The Most Important Step
Sealing is often the deciding factor in how well a diamond painting holds up over time. Even if the drills are placed carefully, without a protective layer they remain exposed to dust, moisture, and everyday wear.
A proper seal does more than just “fix” the surface. It helps:
- Lock each drill firmly in place
- Fill the tiny gaps between drills
- Create a protective barrier against dust, humidity, and air exposure
This added layer not only improves durability but also helps maintain a clean, finished look over time.
Recommended Option
Many crafters prefer using products like Mod Podge Super Gloss because they are easy to use and designed to dry clear without affecting the appearance of the artwork.
Some key benefits include:
- Dries transparent, preserving the original colors
- Enhances shine without dulling the drills
- Forms a flexible yet durable protective layer
For best results, apply thin and even coats using a soft brush. A light application allows the sealant to settle between drills without leaving visible streaks or buildup. If needed, a second thin layer can be applied after the first has fully dried.
What to Avoid
Not all sealing methods are suitable for diamond paintings. Some common alternatives can cause more harm than good:
- White glue: May dry with a cloudy or uneven finish, reducing the sparkle
- Hairspray: Lacks durability and can become sticky, brittle, or yellow over time
Using the right type of sealant ensures that your artwork stays both visually appealing and structurally stable for the long term.
6. Small Details That Make a Big Difference
Long-term durability often depends on small habits formed at the very beginning. Paying attention to these details can significantly reduce common issues like loose drills, misalignment, or dust contamination later on.
Edge Protection
The edges of a diamond painting canvas often have exposed adhesive that isn’t meant for placing drills. These areas can easily collect dust, lint, or pet hair, which may gradually spread into the working sections.
Applying washi tape along the edges before you start creates a clean boundary. It not only keeps unwanted debris away but also makes the workspace feel more organized and easier to manage throughout the process.
Placement Control
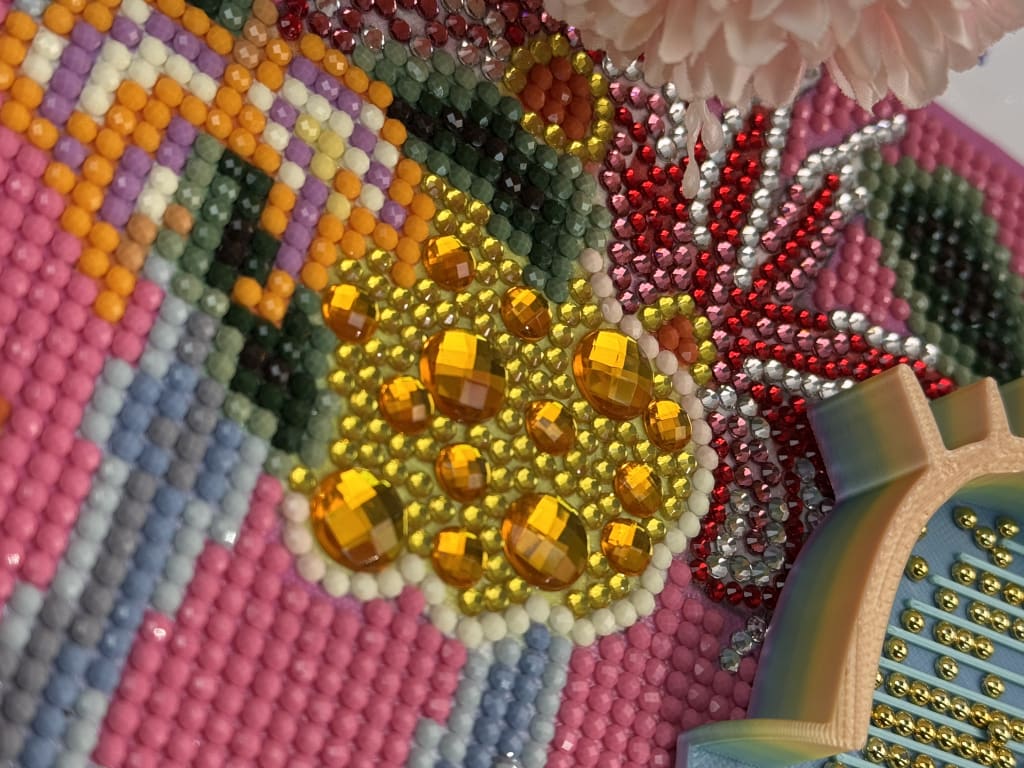
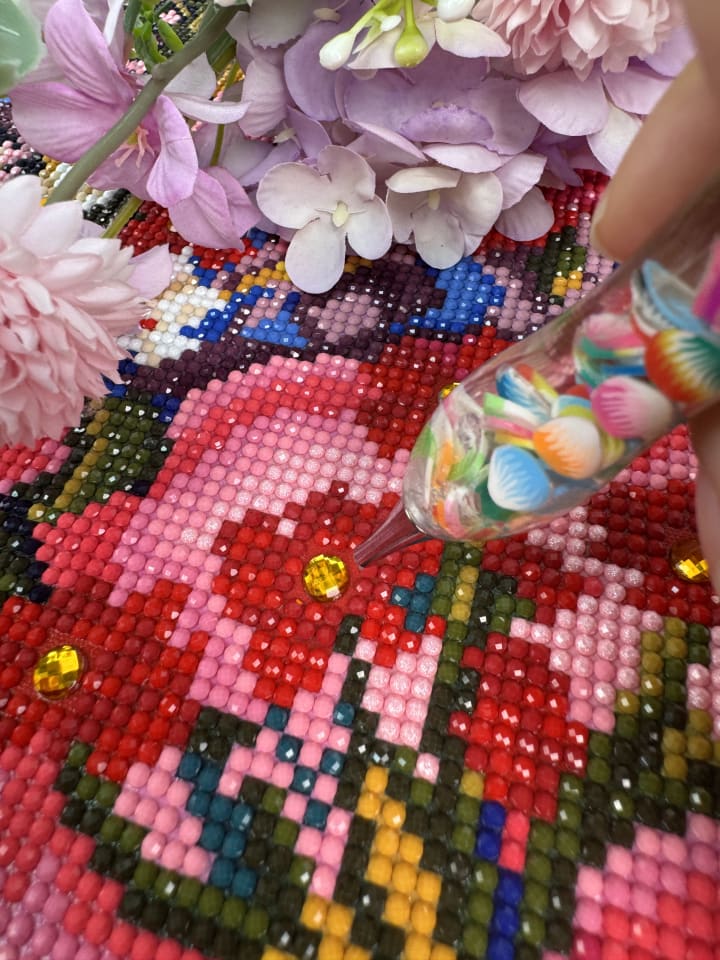
While multi-placers can speed up the process, using large ones can sometimes lead to uneven alignment. Even small angle errors can build up over time, creating pressure between drills and increasing the risk of popping later on.
Using smaller multi-placers—typically placing 3 to 4 drills at a time—offers a better balance between speed and precision. It allows each drill to be positioned more accurately and pressed evenly into the adhesive.
This controlled placement reduces internal stress across the canvas and helps maintain a smoother, more stable final result.
Clean Working Environment
Keeping your workspace clean plays a bigger role than many beginners expect. Dust, pet hair, and tiny airborne particles can easily settle on the adhesive surface, reducing its stickiness and affecting how well the drills stay in place over time.
One simple improvement is replacing the original plastic cover with release paper for diamond painting. Unlike the standard film, it allows you to uncover and protect specific sections more precisely, minimizing unnecessary exposure to air and contaminants.
It’s also helpful to work in a stable environment—avoid placing your canvas near open windows, fans, or high-traffic areas where dust circulates more frequently. Washing your hands before starting and limiting direct contact with the adhesive surface can further prevent oil transfer.
These small adjustments may seem minor, but they significantly improve overall adhesion and help maintain a cleaner, more durable finished piece.
7. Framing and Storage Matter More Than You Think
Even a perfectly sealed diamond painting can gradually degrade if it isn’t displayed or stored properly. Long-term preservation depends not only on how the artwork is made, but also on how it is protected afterward.
Framing Options
Choosing the right framing method can make a noticeable difference:
- With glass: Offers the best protection against dust, moisture, and UV exposure. It helps keep the surface clean and reduces the risk of scratches, making it ideal for long-term display.
- Without glass: Allows the drills to reflect light more freely, creating a stronger sparkle effect. However, it leaves the surface exposed and requires more careful maintenance.
Avoid Direct Sunlight
Prolonged exposure to sunlight can significantly affect the condition of your painting. UV light may:
- Cause the adhesive to yellow or become brittle
- Fade the color of the drills over time
- Weaken the canvas structure
For best results, display your artwork in a shaded indoor area away from direct sunlight.
Proper Storage Tip
If you’re not displaying the painting and need to store it rolled:
Always roll it with the drills facing outward
This reduces inward pressure on the drills and helps prevent large sections from lifting or popping. It also keeps the canvas under more balanced tension, which is especially important for larger pieces.
Final Thoughts
A diamond painting is more than just a craft—it’s a quiet journey that gradually comes to life, one sparkling piece at a time. Each section you complete carries your time, patience, and attention, transforming a simple canvas into something deeply personal and meaningful. Its longevity isn’t defined by a single step, but by the care you give it along the way—gentle handling, proper sealing, and thoughtful storage all play a part. When these moments of care come together, your finished artwork doesn’t just last—it continues to shine, preserving both its brilliance and the memories behind it for years to come.
About the Creator
Diamond Painting Lab
Diamond painting insights, techniques, and care tips focused on helping creators better understand materials, methods, and long-term preservation.
Keep reading
More stories from writers in Art and other communities.
Watching The End Of The World From The Diner
Introduction I am not sure how to approach this. Guy Peellaert was an amazing artist who created iconic fantasy images of famous people, usually musicians or politicians, as well as creating commissioned album covers such as "It's Only Rock'n'Roll" by The Rolling Stones and David Bowie's "Diamond Dogs" which you can read more about below.
By Mike Singleton 💜 Mikeydred a day ago in Art
Why Wiked: For Good is Undeservingly the ‘worse movie’
So… off the bat, we’re about to delve into something ridiculous. Just so we’re clear on that, ok? The first thing anyone that knows a thing about these dual movies… knows… is the original movie and sequel were shot together.
By Gabriel Shamesa day ago in Humans
Rousseau's Last Tour
This was a strange comfort to me these last few weeks. Actually, more than a few weeks. I began this book at the beginning of the year, and put it aside as I realized that I was reading not a fictional account of a life, but the very true thoughts of a writer who has put his fingerprints over much of what I know of French thought in that era.
By Kendall Defoe 7 days ago in BookClub


Comments
There are no comments for this story
Be the first to respond and start the conversation.